Watts Pressure Regulator Manual: A Comprehensive Guide
Watts provides engineering excellence and manufacturing support for quick solutions‚ offering a manual for easy installation and troubleshooting of pressure regulators.
Understanding Watts Pressure Regulators
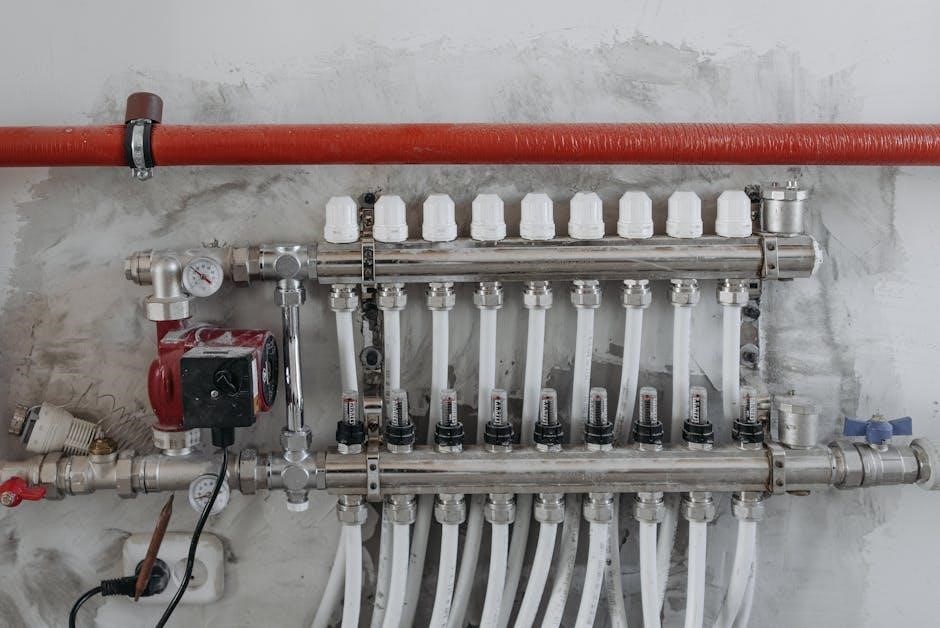
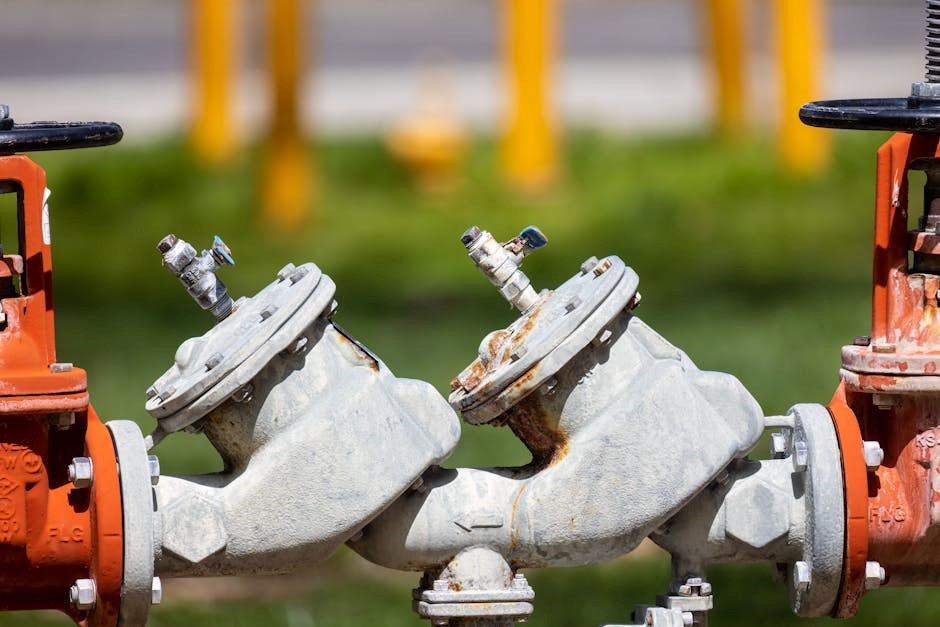
Watts pressure regulators are vital components in plumbing systems‚ designed to reduce and maintain consistent water pressure‚ protecting downstream fixtures and appliances. These devices are crucial for preventing damage caused by excessively high pressure and ensuring efficient water usage. They function by automatically adjusting to fluctuations in the incoming water supply‚ delivering a stable output pressure.
Understanding the core principles of these regulators is key to proper installation and maintenance. Watts offers a variety of models tailored to different applications‚ from residential homes to commercial buildings. Proper function relies on components like adjustment bolts‚ pressure gauges‚ and internal seals. Regular inspection and timely repair are essential for optimal performance and longevity‚ preventing issues like leaks or inconsistent pressure.
Types of Watts Pressure Regulators
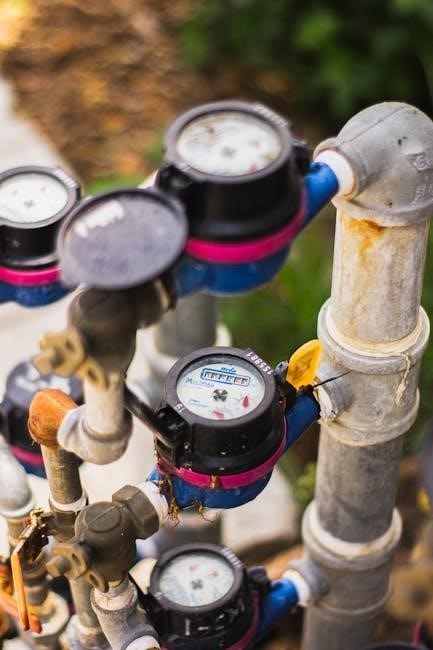
Watts manufactures a diverse range of pressure regulators to suit various plumbing needs. The Watts 1156F Series‚ designed for feed water applications‚ is a popular choice‚ alongside the Watts 009 Series‚ specifically engineered for reduced pressure zone assemblies. Beyond these‚ Watts offers combination regulators and backflow preventers‚ providing dual functionality for enhanced protection.
Automatic control solutions are also available‚ offering precise pressure management. Each type features unique characteristics and installation requirements. Selecting the appropriate regulator depends on factors like flow rate‚ pressure requirements‚ and the specific application. Understanding these distinctions is crucial for ensuring optimal system performance and compliance with local plumbing codes. Detailed specifications and installation guides are available for each model on the Watts website.
Installation Procedures
Watts pressure regulator installation requires careful attention to detail for optimal performance. Begin with Pre-Installation Checks‚ ensuring compatibility with existing plumbing and verifying adequate space. Connecting to Water Supply involves proper pipe sizing and the use of appropriate fittings to prevent leaks.
Before full operation‚ perform Initial Setup and Adjustment. Hook up the regulator to hoses and cautiously turn on the water supply‚ checking for zero-pressure holding. If successful‚ adjust the bolt clockwise to reach the desired pressure. Always consult the specific model’s manual for detailed instructions. Proper installation is vital for preventing issues like water hammering and ensuring long-term reliability.
Pre-Installation Checks
Before beginning installation‚ thoroughly assess your plumbing system. Confirm the Watts pressure regulator is compatible with your existing pipe material and size. Verify sufficient clearance around the installation location for future maintenance and adjustments. Inspect the regulator for any shipping damage or missing components.
Ensure the water supply is shut off before commencing work. Check the direction of water flow‚ indicated on the regulator body‚ and install it accordingly. Confirm you have all necessary tools and fittings readily available. A pre-installation check minimizes potential complications and ensures a smooth‚ trouble-free setup process‚ contributing to the regulator’s longevity.
Connecting to Water Supply
Carefully connect the Watts pressure regulator to the water supply lines‚ ensuring proper alignment and avoiding cross-threading. Use appropriate pipe sealant or Teflon tape on all threaded connections to prevent leaks. Tighten fittings securely‚ but avoid over-tightening‚ which could damage the regulator or pipes.
Double-check all connections for tightness and proper orientation before restoring water flow. Slowly open the main water supply valve‚ allowing the system to pressurize gradually. Monitor connections closely for any signs of leakage. If leaks are detected‚ immediately shut off the water supply and re-tighten or reseal the affected connections. Proper connection is vital for reliable operation.
Initial Setup and Adjustment
After connecting to the water supply‚ begin the initial setup by ensuring the regulator is set to its lowest pressure setting. Slowly open the water supply and observe if the unit holds at zero pressure. If it does‚ carefully turn the adjustment bolt clockwise to gradually increase the pressure.
Monitor the pressure gauge closely during adjustment‚ increasing the pressure in small increments until the desired level is reached. Avoid rapid adjustments‚ as this can cause water hammer or damage the regulator. Once the desired pressure is set‚ allow the system to stabilize and re-check for leaks.
Pressure Adjustment Explained
Adjusting a Watts pressure regulator is crucial for optimal system performance. The process involves understanding how to interact with the adjustment bolt and accurately interpret readings from the pressure gauge. Proper adjustment ensures consistent water pressure throughout your plumbing system‚ preventing issues like low flow or damage to appliances.

Begin by identifying the adjustment bolt‚ typically located on the regulator body. Small clockwise turns increase pressure‚ while counterclockwise turns decrease it. Always monitor the pressure gauge during adjustments‚ making incremental changes to avoid overshooting the desired pressure. Regular checks and fine-tuning are essential for maintaining stable water pressure.
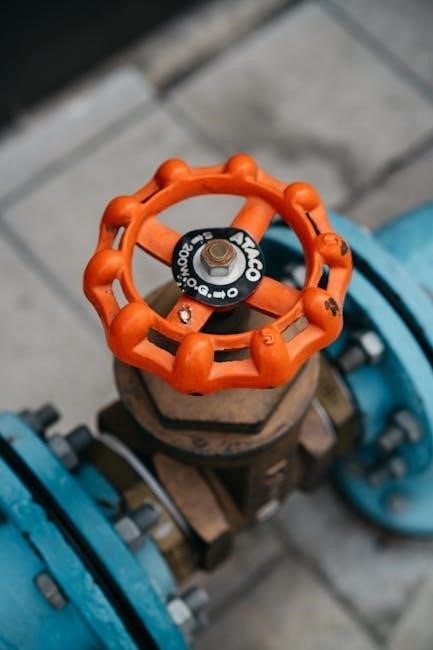
Using the Adjustment Bolt
The adjustment bolt on a Watts pressure regulator is the primary control for setting your desired water pressure. Locate this bolt on the regulator’s body; it’s typically a hex-shaped fitting. To increase pressure‚ slowly turn the bolt clockwise. Conversely‚ turning it counterclockwise will reduce the pressure.
Important: Make small‚ incremental adjustments – a quarter turn at a time – and always monitor the pressure gauge after each adjustment. Avoid rapid or large changes‚ as these can cause water hammer or damage to your plumbing. Ensure the bolt isn’t overly tightened‚ as this could damage the regulator’s internal components.
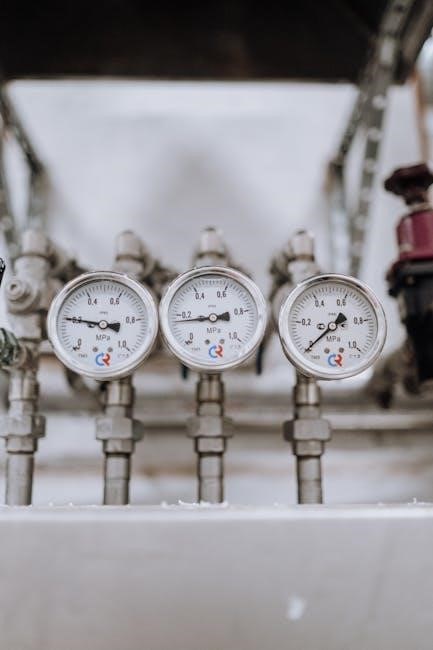
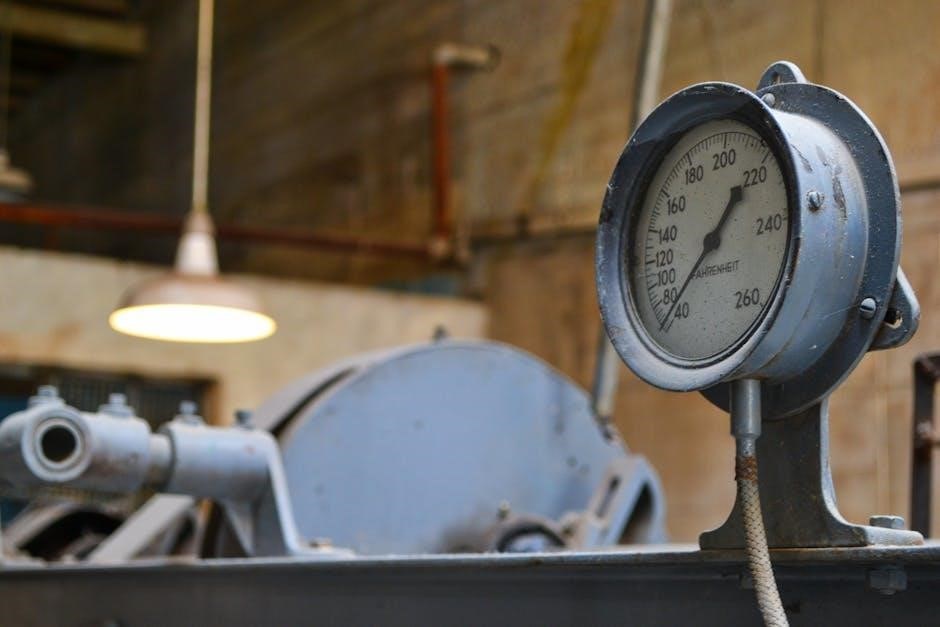
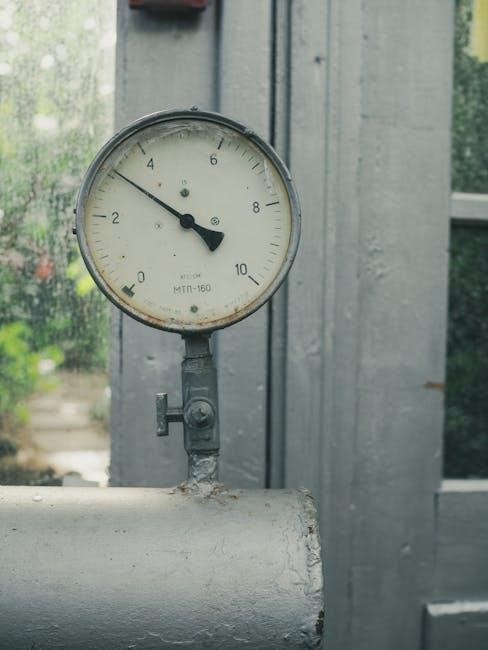
Reading the Pressure Gauge
A crucial step in maintaining your Watts pressure regulator is accurately reading the pressure gauge. This gauge displays the downstream water pressure‚ indicating the pressure delivered to your fixtures. Observe the gauge’s face‚ noting the units – typically in pounds per square inch (PSI).
Ensure you’re reading the gauge at eye level to avoid parallax errors. Compare the reading to your desired pressure setting and adjust the regulator accordingly using the adjustment bolt. Regularly check the gauge‚ especially after any adjustments‚ to confirm the pressure remains stable. A fluctuating gauge reading may indicate a problem with the regulator.
Troubleshooting Common Issues
When facing issues with your Watts pressure regulator‚ systematic troubleshooting is key. Common problems include low water pressure‚ often caused by a partially blocked inlet screen or a faulty regulator spring. Water hammering‚ a loud banging noise‚ can result from sudden valve closures and may require a water hammer arrestor.
Leaking regulators often indicate worn seals or components. Before attempting repairs‚ isolate the water supply. Inspect the regulator for visible damage and check connections for tightness. If issues persist‚ consult the specific model manual or a qualified plumber for assistance. Addressing these problems promptly prevents further damage.
Low Water Pressure
Low water pressure with a Watts regulator often stems from a few key areas. First‚ inspect the inlet screen for any blockage – sediment buildup is a common culprit. A partially blocked screen restricts water flow‚ reducing pressure downstream. Secondly‚ examine the regulator’s spring; a weakened or failing spring can’t maintain adequate pressure.
Additionally‚ check for kinks or obstructions in the supply lines leading to the regulator. Ensure the regulator is properly sized for the application; an undersized regulator will struggle to deliver sufficient pressure. Finally‚ verify that the pressure adjustment bolt hasn’t been inadvertently turned down‚ limiting the output pressure.
Water Hammering
Water hammering‚ those loud banging noises in your pipes‚ can sometimes be linked to a Watts pressure regulator. This occurs when water flow is suddenly stopped‚ creating a pressure surge. While the regulator isn’t always the direct cause‚ it can exacerbate the issue if not properly adjusted or if the system lacks adequate water hammer arrestors.
Ensure the regulator’s outlet pressure isn’t set too high‚ as this increases the force of the water. Consider installing or checking existing water hammer arrestors near quick-closing valves (like washing machine valves) to absorb the shock. A faulty regulator diaphragm could also contribute to pressure fluctuations‚ leading to hammering.
Leaking Regulator
A leaking Watts pressure regulator indicates a potential failure within the unit‚ requiring immediate attention. Common causes include worn-out seals‚ a damaged diaphragm‚ or a loose connection. Begin by carefully inspecting all connections for tightness‚ ensuring proper sealing. If the leak persists‚ the internal components likely need replacement.
Often‚ a slow drip from the adjustment bolt suggests a worn seat or diaphragm. More significant leaks may indicate a cracked body or a severely damaged internal part. Do not attempt to disassemble the regulator without first shutting off the water supply. Consult the specific model manual for detailed repair instructions or consider professional assistance.
Maintenance and Repair
Regular inspections are crucial for maintaining optimal performance of your Watts pressure regulator. Annually‚ check for external leaks‚ corrosion‚ and any signs of physical damage. Monitor the pressure gauge for consistent readings and ensure the adjustment bolt is secure. Preventative maintenance extends the regulator’s lifespan and avoids costly repairs.
When repairs are necessary‚ replacing seals and components is often straightforward. However‚ always shut off the water supply before disassembly. Refer to the specific model manual for detailed instructions and parts lists. If you’re uncomfortable performing repairs yourself‚ contact a qualified plumber. Proper maintenance ensures reliable water pressure and prevents potential water damage.
Regular Inspections
Annual inspections are vital for ensuring the continued reliable operation of your Watts pressure regulator. Begin by visually examining the unit for any external leaks around connections‚ the body‚ or the adjustment bolt. Check for signs of corrosion‚ especially in exposed areas‚ and address them promptly to prevent further damage;
Furthermore‚ consistently monitor the pressure gauge readings to confirm they remain stable and within the desired range. Verify the adjustment bolt hasn’t loosened and is securely fastened. These routine checks proactively identify potential issues‚ extending the regulator’s lifespan and preventing unexpected failures or water damage.
Replacing Seals and Components
When troubleshooting reveals worn or damaged seals‚ or other internal components‚ replacement is crucial for restoring optimal performance. Always shut off the water supply before disassembling the regulator. Carefully note the orientation of all parts during removal for correct reassembly.
Genuine Watts replacement parts are recommended to ensure compatibility and maintain the regulator’s integrity. Pay close attention to O-rings‚ diaphragms‚ and springs‚ as these are common wear items. After replacing components‚ thoroughly flush the regulator to remove any debris before reconnecting to the water supply and testing for leaks.
Specific Model Manuals (Links & Resources)
For detailed guidance tailored to your specific Watts pressure regulator‚ accessing the correct model manual is essential. Watts offers comprehensive documentation online for popular series like the 1156F Series‚ covering feed water pressure regulation – find the PDF manual at Watts’ website.
Additionally‚ the 009 Series‚ focused on reduced pressure zone assemblies‚ has its own dedicated instruction‚ installation‚ maintenance‚ and repair manual available for download. These resources provide in-depth information on installation‚ troubleshooting‚ and parts lists. Explore Watts.com for a complete catalog of manuals and support materials to ensure proper operation and longevity of your regulator.
Watts 1156F Series
The Watts 1156F Series are feed water pressure regulators designed for reliable performance. Downloading the official installation instructions PDF manual from Watts is crucial for correct setup. This manual details the controller’s specifications‚ proper installation procedures‚ and troubleshooting steps specific to this series.
Users will find guidance on connecting the regulator‚ adjusting pressure settings‚ and identifying potential issues. The 1156F series also includes the T156b and N256 series within its documentation‚ offering a comprehensive resource for these related models. Proper installation‚ as outlined in the manual‚ ensures optimal water pressure control and system efficiency.
Watts 009 Series
The Watts 009 Series documentation focuses on Reduced Pressure Zone Assemblies‚ vital for backflow prevention. Accessing the instruction‚ installation‚ maintenance‚ and repair manual in PDF format is essential for anyone working with these regulators. This manual provides detailed guidance on installation procedures‚ ensuring compliance with safety standards and local regulations.
It covers troubleshooting techniques to address common issues‚ alongside instructions for regular maintenance and component replacement. Understanding the 009 Series manual empowers users to effectively install‚ maintain‚ and repair these assemblies‚ safeguarding water systems from contamination and ensuring reliable operation. Proper installation is key to optimal performance.
Combi Regulator & Backflow Preventer Troubleshooting
Troubleshooting Watts Combi Regulator and Backflow Preventer issues requires a systematic approach. Common problems include the combi system lever failing to push water‚ indicating potential internal blockage or damage. Another frequent issue is regulator spring misalignment‚ which can disrupt pressure control and lead to inconsistent water flow.
Careful inspection of the lever mechanism and spring alignment is crucial; Refer to the specific model’s manual for detailed diagrams and repair instructions. Addressing these issues promptly prevents further complications and ensures the continued safe and efficient operation of the combined regulator and backflow prevention system. Regular maintenance minimizes these occurrences.
Safety Precautions
Prior to any installation or maintenance of a Watts pressure regulator‚ completely shut off the water supply to prevent flooding and potential damage. Always relieve water pressure within the system before disconnecting any components. Wear appropriate safety glasses and gloves to protect against debris and potential contaminants.
Be mindful of hot water temperatures during adjustments‚ as scalding can occur. Never attempt to repair a regulator while the system is pressurized. If you are uncomfortable performing any task‚ consult a qualified plumber. Proper installation and adherence to these precautions ensure safe operation and longevity of the regulator.
