Fishing rod guide repair kits are essential tools for anglers, offering a convenient way to fix damaged or broken guides. These kits typically include carbon fiber sticks, epoxy glue, and other necessary tools to restore your rod’s functionality. They are affordable, easy to use, and designed to get you back on the water quickly. Whether you’re a professional or a hobbyist, having a repair kit ensures your fishing gear remains in top condition.
When You Might Need a Repair Kit
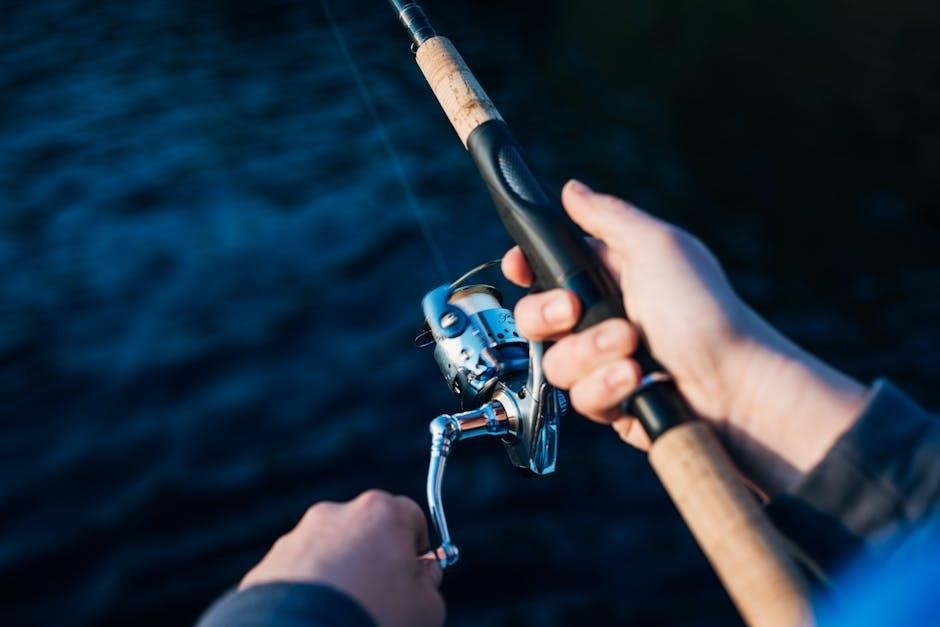
A fishing rod guide repair kit becomes essential when your rod’s guides are damaged, preventing proper line flow and casting efficiency. Guides can break from accidental impacts, harsh weather, or heavy fish strains. Immediate repair is crucial to maintain performance and prevent further rod damage. Kits are also handy for regular maintenance, ensuring your gear stays in optimal condition for consistent fishing experiences.
Components of a Typical Repair Kit
A typical fishing rod guide repair kit includes carbon fiber sticks, epoxy glue, and other essential tools. These components are designed to fix broken guides efficiently, ensuring your rod returns to optimal performance. Kits may also include guide removal tools, sanding materials, and instructions.
Carbon Fiber Sticks
Carbon fiber sticks are a key component of most fishing rod guide repair kits. These sticks are designed to provide a strong, durable replacement for broken or damaged rod guides. Made from high-quality carbon fiber, they are lightweight yet incredibly robust, making them ideal for withstanding the stresses of fishing. The sticks are typically pre-cut to various lengths and diameters, ensuring they can fit a wide range of rod guide sizes. Their flexibility allows them to bend without breaking, while their strength ensures they can handle the strain of fighting fish. When repairing a guide, the carbon fiber stick is carefully cut to size and attached using epoxy glue, forming a seamless bond with the rod. Their slim profile ensures minimal impact on the rod’s balance and sensitivity. For anglers who want a professional-grade repair, carbon fiber sticks are the go-to choice. They are also easy to work with, making them suitable for both novice and experienced rod builders. With proper application, these sticks can restore your rod to like-new condition, ensuring your next fishing trip isn’t ruined by equipment failure. Always choose sticks that match your rod’s specifications for the best results.
Epoxy Glue
Epoxy glue is a critical component of fishing rod guide repair kits, known for its exceptional bonding strength and durability. Specifically designed for rod repairs, this adhesive is formulated to create a strong, long-lasting bond between carbon fiber sticks and the rod’s surface. Unlike regular super glue, epoxy glue is more flexible and resistant to the environmental stresses that fishing rods endure, such as moisture, temperature changes, and repeated flexing. When applied correctly, it ensures a seamless and durable repair, restoring the rod’s integrity and performance. The epoxy typically comes in a two-part mixture, which must be carefully combined to activate its bonding properties. Proper preparation of the repair area, including cleaning and roughening the surface, is essential for maximizing the glue’s effectiveness. Once applied, the epoxy sets quickly, forming a rock-solid bond that can withstand the rigors of fishing. Its reliability and performance make epoxy glue an indispensable tool for anglers looking to extend the life of their equipment. By following the instructions provided in the repair kit, anglers can achieve professional-grade results with minimal effort.
Other Necessary Tools
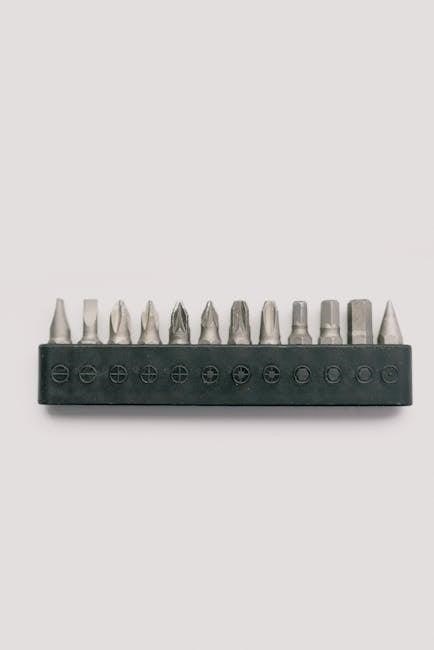
Aside from carbon fiber sticks and epoxy glue, fishing rod guide repair kits often include other essential tools to ensure a successful repair. These may include cutting tools, such as utility knives or precision cutters, which are used to carefully remove the damaged guide and any remaining adhesive. Sandpaper or a small file is typically provided to smooth and prepare the rod surface, ensuring a clean and even base for the new guide. Mixing cups and applicators are also common, allowing for precise measurement and application of the epoxy glue. Additionally, some kits may include a small digital caliper to measure guide sizes accurately, ensuring the correct replacement is used. These tools are designed to simplify the repair process and help anglers achieve professional-grade results. While some kits may vary in the tools included, they all aim to provide a comprehensive solution for restoring damaged guides. Having these tools on hand ensures that repairs can be made efficiently, minimizing downtime and keeping your fishing rod in optimal condition. For serious anglers, these tools are as important as the repair materials themselves.
Step-by-Step Guide to Using the Repair Kit
Using a repair kit involves removing the broken guide, preparing the rod surface, applying epoxy glue, attaching the new guide, and allowing the glue to set. Each step ensures a strong and durable repair, helping you get back to fishing quickly.
Removing the Broken Guide
Removing the broken guide is the first step in the repair process. Start by carefully cutting away the old epoxy and binding material that holds the damaged guide in place. Use a utility knife or sandpaper to gently scrape off the adhesive without damaging the rod. Once the old epoxy is removed, grasp the broken guide firmly and twist it slightly to loosen it from the rod. If the guide is stubborn, apply a small amount of heat to soften the remaining adhesive. Avoid using excessive force, as this could damage the rod’s surface. Once the guide is removed, inspect the area to ensure all residue is cleared. This step is crucial for ensuring a clean surface for the new guide installation and a strong bond with the epoxy glue. Patience and care are key to avoid further damage during this process.
Preparing the Rod Surface
After removing the broken guide, the next critical step is preparing the rod surface for the new guide installation. Use fine-grit sandpaper to gently smooth the area where the old guide was attached, ensuring it is free from any remaining adhesive, dirt, or residue. This step is essential for creating a clean, even surface that will allow the epoxy glue to bond effectively. Once sanded, wipe the area with a soft cloth or alcohol swab to remove any dust or debris. If there are any uneven spots or small cracks in the rod’s finish, apply a small amount of epoxy glue to fill them in, allowing it to dry completely before proceeding. A well-prepared surface ensures a strong and durable bond between the rod and the new guide. Taking the time to properly clean and prepare the area will greatly improve the success of the repair and extend the life of your fishing rod. Proper preparation is key to achieving a professional-quality fix.
Applying Epoxy Glue
Applying epoxy glue is a critical step in the repair process, as it ensures a strong bond between the new guide and the fishing rod. Start by carefully mixing the epoxy resin and hardener according to the instructions provided in the repair kit. It’s important to mix the components in the correct ratio to achieve the desired strength and durability. Once mixed, use a small brush or applicator to apply a thin, even layer of epoxy to the base of the new guide and the prepared surface of the rod. Avoid applying too much glue, as this can create a mess and weaken the bond.
- Work in a well-ventilated area to avoid inhaling fumes.
- Use a clean, dry applicator to prevent contamination.
- Ensure the epoxy is spread evenly to cover the entire contact area.
Proper application of the epoxy glue is essential for a successful repair. By following the instructions and taking your time, you can ensure a strong, long-lasting bond that will withstand the stresses of fishing. Always allow the glue to set as directed before handling the rod further.
Attaching the New Guide
Once the epoxy glue is properly applied, the next step is to attach the new guide to the fishing rod. Carefully position the guide onto the rod, ensuring it is aligned correctly with the existing guides. Use a small, flat tool or your fingers to gently press the guide into place, making sure it sits securely on the rod’s surface; Proper alignment is crucial for maintaining the rod’s balance and performance.
- Ensure the guide is positioned at the correct angle and spacing.
- Use a small amount of pressure to secure the guide in place;
- Double-check the alignment before the glue sets.
Once the guide is in position, allow the epoxy glue to set according to the instructions, typically a few minutes depending on the type of glue. After the glue has set, inspect the guide to ensure it is firmly attached and properly aligned. If necessary, use a small amount of thread or wrapping material to reinforce the attachment and provide additional support. Finally, apply a thin layer of clear finish or sealant to protect the repair and ensure durability. Properly attaching the new guide will restore your fishing rod to its original condition, ready for your next fishing trip.
Allowing the Glue to Set
After applying the epoxy glue and attaching the new guide, it is crucial to allow the glue to set properly. This step ensures a strong and durable bond between the guide and the fishing rod. Depending on the type of epoxy used, the setting time can range from a few minutes to an hour or more. It is important to follow the manufacturer’s instructions for the recommended setting time.
During this process, avoid touching or moving the guide, as this could disrupt the bond. If necessary, use clamps or weights to hold the guide in place while the glue sets. Ensure the rod is placed in a stable, flat surface away from direct sunlight or moisture, as these factors can affect the curing process.
Once the glue has fully set, inspect the guide to ensure it is securely attached. Gently tug on the guide to test its stability. If it feels loose, additional reinforcement may be needed. Properly allowing the glue to set is essential for a successful repair, ensuring your fishing rod is ready for use and can withstand the stresses of fishing. Patience during this step will result in a long-lasting and reliable fix.
Choosing the Right Repair Kit
Choosing the right repair kit is vital for effective rod guide repair. Ensure the kit is compatible with your rod’s make and model. Look for kits that include multiple guide sizes, spare parts, and durable adhesives for a reliable fix.
Compatibility with Your Rod
Compatibility is a crucial factor when selecting a fishing rod guide repair kit. Ensure the kit matches your rod’s specific make, model, and material, whether it’s carbon fiber, fiberglass, or a composite blend; Guides and adhesives must align with the rod’s thickness and flexibility to maintain performance. Many kits are designed for universal use, but others are tailored to specific rod types, such as fly fishing or spinning rods. Always check the manufacturer’s recommendations or product descriptions to confirm compatibility. Using mismatched components can lead to poor repairs and reduced rod efficiency. For instance, a guide intended for a heavy-action rod may not perform well on a lightweight model. Similarly, adhesives must be suitable for the rod’s material to ensure a strong, lasting bond. Proper compatibility ensures the repair restores your rod to its original functionality, allowing you to focus on your fishing experience without worrying about equipment failure.
Included Sizes and Spares
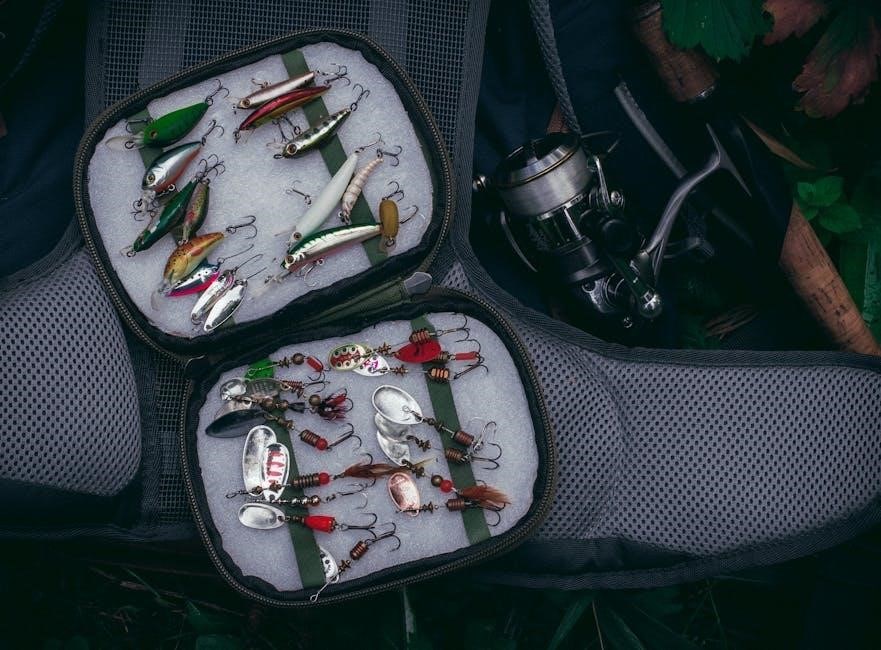
A reliable fishing rod guide repair kit should include a variety of guide sizes to accommodate different rod types and fishing styles. Guides come in various diameters and lengths, so having a range ensures you can find the perfect fit for your rod. Many kits offer spares, which are invaluable for future repairs or if multiple guides are damaged. The spares often include additional guide rings, screws, and other small components that are easy to lose or damage. Some premium kits even provide extra epoxy glue, sandpaper, or thread for wrapping, making them a comprehensive solution. Having multiple sizes and spares ensures you’re prepared for any repair situation, whether you’re fixing a single guide or restoring multiple ones. This convenience saves time and money compared to purchasing individual components. Always check the kit’s contents to ensure it includes everything needed for your specific rod and fishing needs. A well-stocked repair kit is a worthwhile investment for any serious angler.
Preventive Maintenance Tips
Regular maintenance is key to extending the life of your fishing rod and preventing the need for frequent repairs. Inspecting your rod guides after each use can help identify potential issues before they become major problems. Look for signs of wear, such as cracks, dents, or loose fittings, and address them promptly. Cleaning your rod guides regularly is also essential, as dirt and debris can accumulate and cause damage over time. Use a soft cloth and mild soap to wipe down the guides, ensuring they remain smooth and functional. Proper storage is another critical aspect of preventive care—avoid leaving your rod in direct sunlight or extreme temperatures, as this can weaken the materials. Additionally, always handle your rod with care, avoiding impacts or bends that could strain the guides. By adopting these simple practices, you can significantly reduce the likelihood of guide damage and extend the lifespan of your fishing rod. Regular upkeep not only saves time but also ensures your gear is always ready for the next fishing adventure.
Tips for a Successful Repair
Ensuring a successful repair with a fishing rod guide repair kit requires attention to detail and proper technique. First, make sure the area around the broken guide is clean and dry to ensure a strong bond. Use the carbon fiber sticks provided in the kit to create a sturdy reinforcement. When applying epoxy glue, mix it thoroughly and use the exact amount needed to avoid excess that could create a mess or weaken the repair. Align the new guide precisely with the existing ones to maintain your rod’s balance and performance. Allow the glue to set completely, following the manufacturer’s instructions for curing time, to ensure maximum strength. Additionally, consider using a small clamp or tape to hold the guide in place while the glue dries for optimal results. Always work in a well-ventilated area and handle the epoxy carefully to avoid skin contact. By following these steps and being patient, you can achieve a durable and effective repair that restores your fishing rod to its original condition.
Common Mistakes to Avoid
When using a fishing rod guide repair kit, there are several common mistakes to avoid for a successful outcome. One of the most frequent errors is rushing the repair process, especially when applying epoxy glue. Allowing insufficient time for the glue to set can result in a weak bond that may fail under stress. Another mistake is improper alignment of the new guide, which can affect the rod’s balance and performance; Additionally, using too much epoxy can create a mess and may require difficult cleanup. Many anglers also neglect to clean and prepare the rod surface properly before applying the repair, leading to a poor adhesive bond. Avoid using low-quality materials or incompatible repair kits, as this can compromise the durability of the fix. Lastly, some individuals overlook the importance of following the kit’s instructions precisely, which can lead to subpar results. By being mindful of these potential pitfalls, you can ensure a professional-grade repair that extends the life of your fishing rod.
Fishing rod guide repair kits are indispensable tools for anglers seeking to extend the life of their gear. These kits provide everything needed to fix broken or damaged guides, ensuring your rod remains functional and ready for the next adventure. By investing in a high-quality repair kit, you can save money, avoid trips to the store, and keep your fishing rod in optimal condition. Remember to choose a kit compatible with your rod and to follow the instructions carefully for the best results. Regular maintenance and timely repairs can significantly enhance your fishing experience, allowing you to focus on what matters most—enjoying time on the water. Whether you’re a seasoned pro or a casual angler, having a reliable repair kit on hand is a smart decision that pays off in the long run.